Admit it; we’ve all tried a DIY on some level. We've all been there, whether it’s a Pinterest Christmas ornament or trying to paint a study nook during the middle of COVID to cure boredom through yet another lock down.
We understand that COVID took a hit to everyone and everyone’s budget. There might not be room for a professional painting service, but your pantry inside looks like it could use some help. Let’s take a deep dive together to uncover how you can make the most of your DIY. This blog covers everything from how to prep your space before you pick up a paintbrush to knowing when it's time to call in a professional.
DIY isn’t something to be afraid of. The proper planning and preparation can leave you with a professional look and feel. Preparation is half of the work, don’t rush this part of the project. Here is what we recommend before starting your DIY.
Measure your space
This step can commonly be overlooked. You want to measure your space to get the area to know how much paint you need to buy.
Sample your colour
Sampling colour is essential. Whilst paint swatches will give you an idea of what a colour will look like; the actual colour won’t come from a swatch. We suggest painting a sample two to three days in advance; this gives the colour a chance to dry and settle. Your ideal sample size is between 0.2 to 0.5 m2. This will also allow you to see how the colour works in different variations of natural and artificial light throughout the day.
Picking the right finish
There is a whole world to get lost in when it comes to finishes. Everything from satin or gloss, even semi-gloss? Take the time to find out what surface your painting onto and what finish will work the best.
Organise your space
Hold that thought before you get too excited and whip out that can of paint you just bought. Take your time to get everything out of the way, move furniture away from the walls, and take any hanging pictures or frames down. This is also your time to gather all of your tools before you start painting.
Clean, prep and prime
Once you’ve picked your colour and chosen your finish, it’s time to clean, prep and prime by sanding and smoothing down any rough spots where you’ll be painting. Then you’ll want to go in with some warm soapy water and clean your surface. Finger marks, grime and scuffs build up over time; you want to start with a clean wall. Now, if you need it, go in with your prep coat. A prep coat will give your paint the longevity it needs and give you a professional finish.
Cutting corners
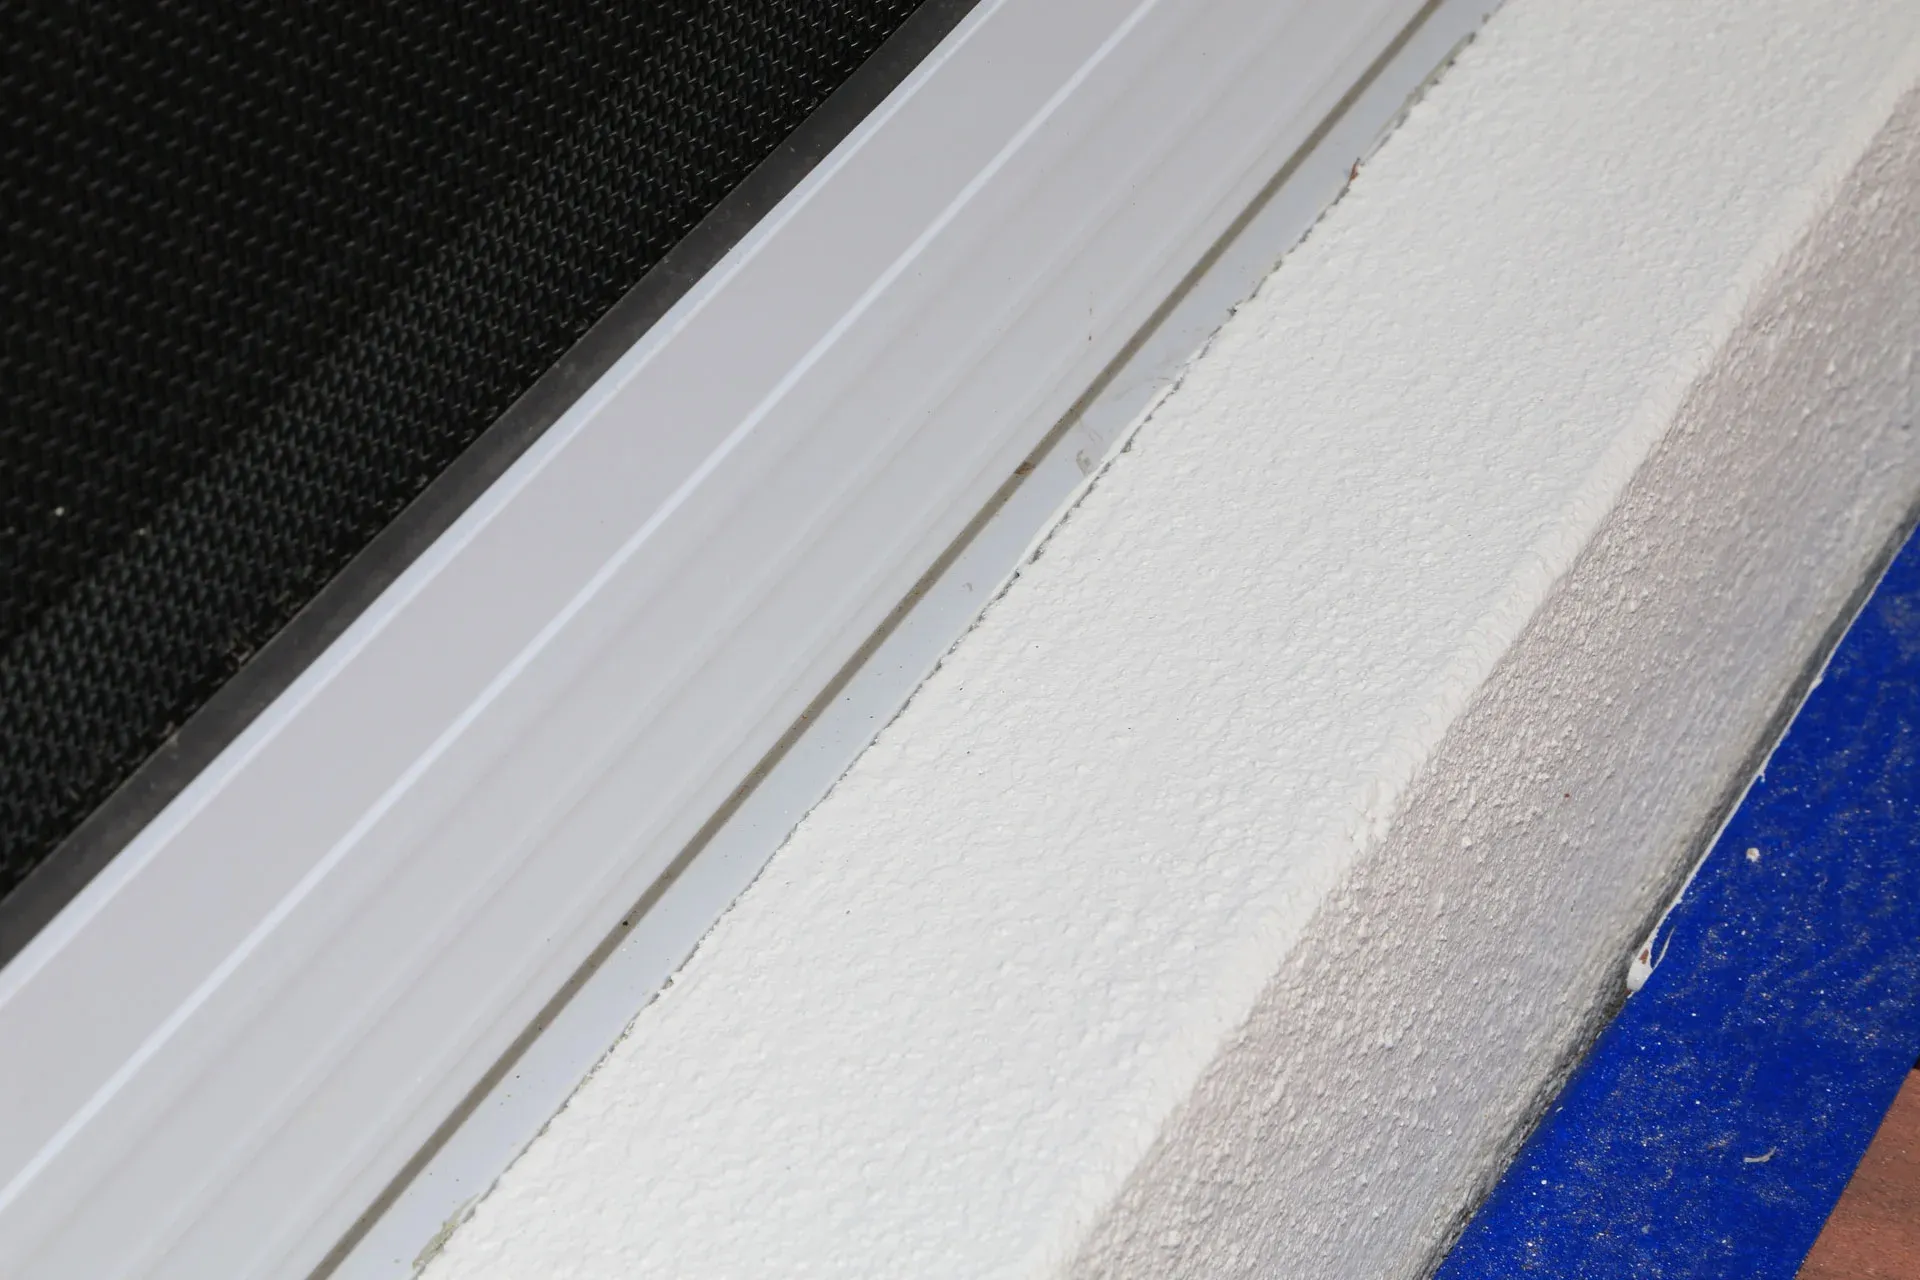
This is creating a border with the paint around all of the edges. Whilst it can seem daunting, don’t be afraid of it. Take it one edge at a time. If you still don’t feel confident enough, get yourself a paint edger or give us a call.
Give yourself enough time for troubleshooting and drying
Whilst it might only take one day to paint the first coat, you need to consider drying time and then more time to apply a second coat if needed. Also, if this is your first time attempting a DIY painting job, allow yourself an extra day or two to troubleshoot. There is a chance you may have miscalculated how much paint you need and run out midway through, some paint was spilled, or you need two coats when you thought you’d only need one. Give yourself more time than you think you need.
If you think you’re ready to go, read our full blog post on How to best prep your space and clean up after the hard work is done.
Sometimes a tricky part of doing it yourself is deciding if you should attempt to complete a project yourself. If you feel overwhelmed and struggle to see if the space or area is fit for a DIY, we’ve listed all of the good signs for a good DIY.
The project is small enough to manage
What we’re saying here is, don’t try and tackle your entire house. A good rule of thumb is that if you don’t think you’ll get through the project within two to three days, it might be a good idea to steer clear.
It’s simple
This is important for those who are novices to painting. Start with simple, for example, a wall in your office that needs some brightness. There are so many potentials spaces where you can DIY, but here are some instances where you might want to consider calling a professional. How to know when its time to call a professional
You’ve got access to good ventilation
Windows, doors and fans are your best friend here. Make sure whatever space you decide to DIY has enough ventilation to get a constant airflow through, and take regular breaks.
If your area ticks those boxes, let's talk about the spaces that you might want to avoid and DIY red flags that aren’t worth the trouble of doing yourself.
House exterior
Tackling the exterior of your house isn’t worth saving the money. Let’s talk about size for a moment. It takes some very efficient painters to complete a house exterior with a flawless finish. This isn’t a weekend project that you start Saturday morning and finish Sunday afternoon. Not to mention the specific types of paint needed. Leave this one to the professionals.
Wet Areas. Think laundry, bathroom and kitchen
This one is a maybe. It depends on how confident you feel moving larger pieces of furniture and white goods out of the way. So yes, you can repaint all of these rooms in your house yourself; just be prepared. It might take some muscle and quite a bit of patience.
You also need to be sure you’re using the right kind of paint; specific paints have been designed to repel water. If you want to tackle this space but don’t know what paint you need, feel free to contact us, and we can help you out.
It takes more than a step ladder to get there
Safety is key. Here at Barker Whittle, we have all the equipment to get into every nook and cranny and hard to reach places.
High ceilings and ceiling cornices are tricky. They take a lot of patience and detail. It’s not worth the risk of your getting up on that old ladder to save a couple of hundred. However, if your ceiling isn’t too high and you can reach it with a step ladder, you’re good to go. If you want some more information on how to paint a ceiling, read our blog post How to paint a ceiling, wall, door or door frame. How to paint a ceiling, wall, door or door frame
No smooth surface, no DIY
If you’re going to attempt a DIY, start with a blank canvas. DIY painting in itself can be daunting enough, don’t try and make it harder on yourself by having to strip existing paint or excessively smoothing out a rough surface.
If you’re still unsure if you should DIY or not, click here to read our blog post, How to know when it’s time to call in a professional.

Whilst there are many spaces you should avoid doing yourself, there are plenty that you can do. We’ve listed our top two spaces in the home for a foolproof DIY.
1. Bedroom, nursery
These are the basics; you’re starting with a white wall. Bedrooms and rooms like a nursery and spare bedroom are perfect for a weekend DIY project. However, make sure you’re happy to sleep on the couch or in the spare bedroom for the night whilst the paint dries.
2. Home Office
More now than ever, home offices are essential in our day to day routine. It’s a place where we spend so much of our time, so why not take the time to freshen up the space with a new coat of paint.
So you’ve finished painting, or maybe you’re taking a break, but either way, your efforts look amazing, but now what to do with all of the leftover pieces.
If you’re in-between coats, you want to ensure your paint doesn’t dry out. Wrap your brushes and rollers in plastic wrap or heavy-duty aluminium foil. Once you’ve done your second coat, it’s time to clean. Taking care of your brushes will save you money by not buying new ones and leaves you ready to go for your next DIY.
Depending on how dirty your drop sheet is, it may or may not need a wash. If it looks ok, leave it to dry. Once dry, fold and store. If you choose to wash your drop sheet, use cold water, air dry, and fold and store.
If you’ve got any excess paint left in your paint tray, tip it back into the paint tin. Then use water and an old scrubbing brush to remove the excess.
We’ve listed below the essentials tools and equipment that you will need, and because it wouldn’t be a DIY if you didn’t save some money, we’ve also included what you should splurge on and when to skimp.
Paint stirrer
Whilst you can invest in an electric paint stirrer for the one-off DIY home job, wooden paint stirrers work perfectly fine.
Painters tape
Although it’s a step up from masking tape, it’s not too expensive, so you might as well buy the top tier stuff.
Step ladder
Don’t even think about using the dining room chairs; this is a recipe for disaster. If you don’t already have a step ladder, now is the time to invest. Besides the fact that they are super handy to have, they’ll make your life easier when painting that top third of your wall.
Brushes and rollers
This is where the splurging is most valued. Although the brushes and rollers are expensive, they will save you time and money. Now, this isn’t to say you need to go and buy the Rolls Royce paintbrushes to paint your home office, but if the price tag seems too good to be true, it is. Cheap paintbrushes won’t last one session or even half a day. The bristles will tend to loosen and stick to the walls, leaving you with a textured wall that you didn’t plan on ending up with. They will also leave you with an inconsistent finish. Whilst they may be expensive, they can last you a lifetime if you care for them.
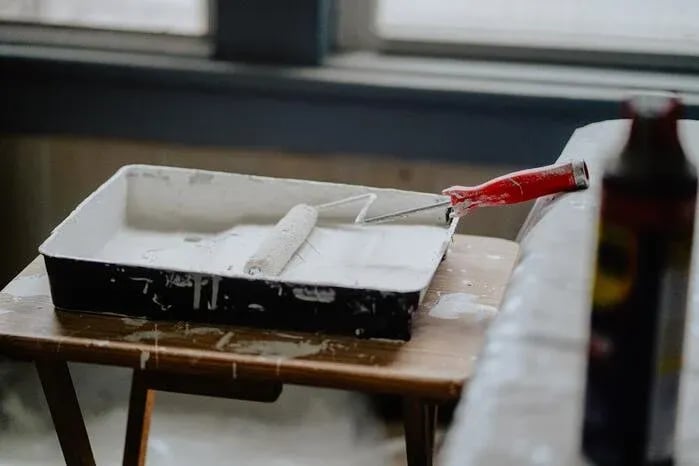
Paint tray
All right, we’ll let you get a cheap paint tray. Whilst they are an essential piece of equipment, buying the most expensive one in the store is not necessary.
Drop cloth
Whilst you might only be planning one DIY job, investing in a heavy-duty drop cloth is worth it. Old sheets don’t cut here; paint will seep straight onto the carpet or flooring that you’re trying to keep clean. Depending on how much you feel like risking it, a plastic drop cloth might do. However, they can break quickly, so invest in a canvas drop cloth.
Other tools you might want to think about
If you plan on painting windows or a door with glass, a paint scraper is a wise investment. Whilst you might think your tape job is fantastic, you’ll inevitably get some paint on the glass. With a paint scraper, you can carefully tidy all of that up.
If this is your first time doing a DIY painting job and you’re not too psyched about cutting in a paint, edger can save you a lot of that stress.
Right, now you’re ready to start painting? If there is still some uncertainty or a lack of confidence, get in touch with us to smooth out all of your worries. We’re here for advice or a professional job.


