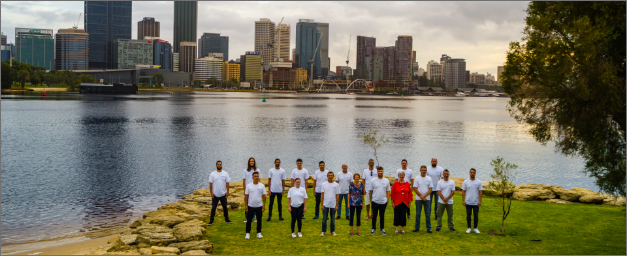
You’re finally doing it, going to start your DIY project and why not. It will save you money, plus you can even get your mates over to help; the more, the merrier. This blog post goes into what we think is the more critical part of a painting job, the prep work. Putting effort into it before you start painting will give you the best chance for flawless results.
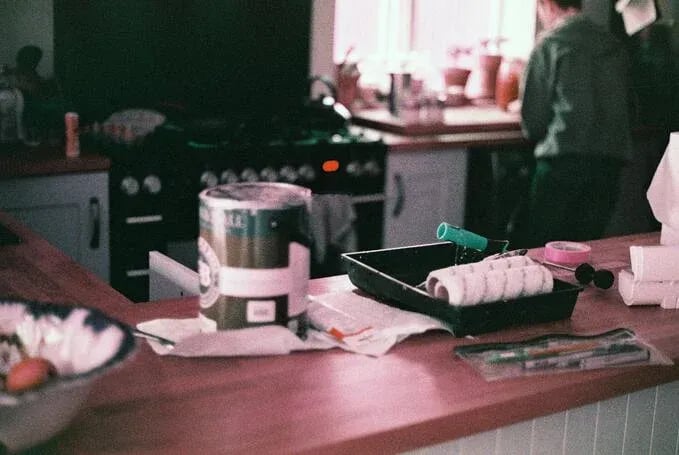
Firstly, you want to get everything together; this means organising all the tools, brushes, and other equipment you might need. If you’ve brought your mates over for a helping hand, this is the part where you grab them an ice-cold beer to say thank you. If you’re unsure what tools you need, click here to read our in-depth blog post, DIY Deep Dive. This blog covers everything about DIY, from what you should DIY and the essential tools you’ll need.
Check that you've got all you need before picking up that paint tin. This also means you’re wearing the right kind of clothing that you don’t mind getting paint on.
Once you’ve got all you need to start, you’ll want to clear your space and cover anything that will potentially get in the way. If you can try to create a room where you can move around freely, this will help prevent things from being accidentally knocked over and make more of a stress-free environment.
Now you’re ready to start cleaning, clean whatever you decide to paint. You probably don’t know how much dirt or discolouration gathers on walls or doors. This isn’t a step you should skip out on; all you need is some warm water with a bit of dish soap and a soft sponge.
After you’ve cleaned your area, wait until it is completely dry. Next, start taping all edges and anything you don’t want to be covered in paint. Then you’ll want to go in with a primer or base coat.
Again wait until this is fully dry, usually 3 hours. However, this all depends on what type of surface you’re painting on, how much ventilation is in the room and what kind of primer or base coat you’re using.
Once dry, apply your first coat of paint. After the first coat is completed, wrap your brushes, rollers and paint tray in plastic wrap or heavy-duty aluminium foil, this keeps the paint from drying out. Once you have finished painting, it’s time to clean.
Ensure the lid is on securely if you have any excess paint that can be tipped back into the paint tin. Be sure to clean your brushes and rollers straight after use, don’t soak them. As each paint is different, be sure to follow the directions on the tin. Take as much excess of the brushes as you can. As a general rule, wash brushes in a bucket of warm soapy water. Take brushes out and rinse until clean. The water in the bucket will separate. Pour water down the sink and any settled paint into either kitty litter or something that can be absorbed, dried, and disposed of. Don’t wash your brushes in the sink; paint can ruin drains and cause blockages.
If you’ve used a canvas drop sheet, it just needs a wash in cold water and can be hung out to dry. Painters’ tape, once carefully removed, can be disposed of in the garbage.