Decorative painting can be one of the simplest ways to give your home a facelift — inside or out. This quick guide helps you recreate three popular effects, and makes sure your DIY-time stays disaster-free!
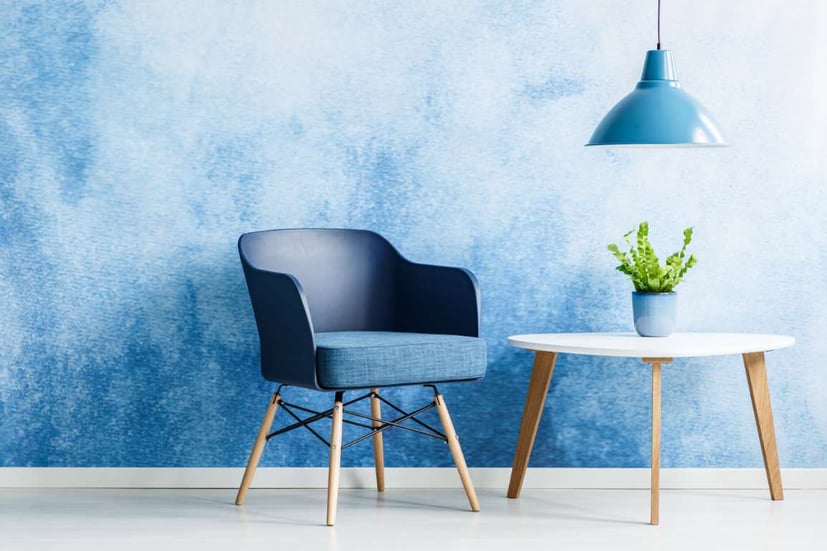
Sponge effects
There’s little better than seeing simple materials create stunning results with easy techniques. Sponge painting is one of these special ways to revive an interior wall to dramatic effect.
What you need:
- A sponge (natural sponges work best)
- Paint roller, paint tray and paintbrush
- Rags
- A stepladder
- Painters’ tape
- Low gloss paint for the paint base
- Latex paint for sponge accents
- Latex glaze
- Extender
Method:
- Experiment on a small panel of hardboard before starting on your walls. This allows you to get a feel for the sponge and confirm your paint samples are the colours you want to buy.
- Place your sample board in the room you’ll be painting. You’ll be surprised how lighting changes the visual effect! Once you’ve confirmed your colour choice, and practiced creating the effect, you’re ready to start painting your walls!
- Prepare your room, the same as for any paint job (by protecting your trim with painters’ tape, protect your floor with drop sheets, applying a base coat etc.).
- Mix your paint with glaze and extender, according to the glaze manufacturer’s instructions. TIP: Low gloss eggshell finishes work well for base coats.
- Sponge your first paint/glaze mixture over your base coat. Dab the sponge in the paint, blot off most of it and lightly press the sponge against the wall. For a consistent effect, load the sponge with the same amount of paint, and apply it with the same side of sponge at the same pressure, throughout. Wash out your sponge when done.
- Use a paintbrush/small sponge to dab paint into the corners and along the edges of the wall.
- Once the first sponged colour is dry, apply the second. Repeat this step as many times as needed. TIP: Vary how much you apply — each colour could cover less wall area, for an increasingly subtle effect. Your final colour is simply an accent. Remember to complete each coat by repeating step 6!
- To add contrast, scour areas using water and a scouring pad. Do this as soon as the paint is dry to the touch. Putting some baking soda on the scourer helps remove paint that’s completely dry. This is a great time to rub away drips and blotches.
You can sponge more than one colour, following this rule of thumb: 1-2 colours creates a bold, heavily contrasted finish, and more colours leave your walls with an increasingly subtle, cloudy effect.
Sponge effects are beginner-friendly and carry a low risk of failure, because they’re so forgiving. If one part of the wall turns out too light, for example, all you’ll need to do is go back and sponge another layer of darker paint over it. And before you commit to a colour scheme, it pays to use a colour picker tool. You’ll be able to see how your favourite paint performs in the context of a room, ahead of time.
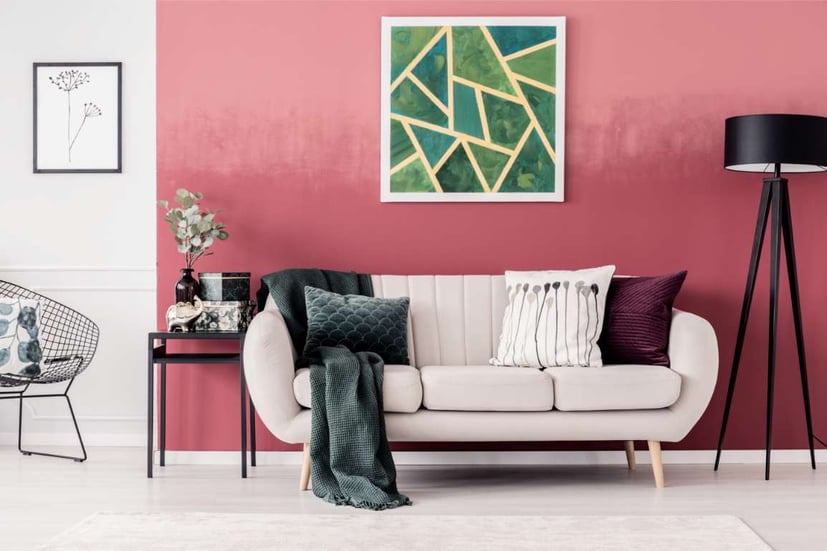
Ombre wall
Creating an ombre wall, where one colour blends into another, can take as little as one day. It’s a beautiful way to draw the eye to statement art or furniture pieces, though it’s a little less forgiving than a sponge effect.
What you’ll need:
- 3” paint brushes, rollers and paint trays
- A bucket (for water)
- Painters’ tape
- Paper towels
Method:
- Prepare the room for painting. Along with your usual preparation, remember to move out as much furniture as you can, and cover the rest with thick plastic.
- Clean your wall surface with soap and water. Once dry, apply painters’ tape around trim, walls and ceiling.
- Measure your walls, decide where you’d like your colours to mix on the wall and mark these points with a pencil.
- Pour out, and paint your first colour to the blending mark. Use your roller for this. Apply as many coats as necessary and leave to dry.
- Repeat this Step 4 for additional colours, and use a new roller and paint tray for each colour.
- To blend your colours, you’ll need a brush for each colour, and one to blend each combination with water. Secure what you need, as blending has to happen quickly. TIP: Keep paper towels on hand to absorb excess water from your blending brush.
- Working quickly across the wall, paint one of the colours about 30cm above or below your colour division line. Then blend this with a clean brush dipped into water (blot it so it’s not dripping!). This gradually thins the fresh paint so the colours seem to blend into each other.
- Apply the second colour over the top edge of the first colour, and blend with your wet blending brush. Once you’re satisfied with the effect, allow the paint to dry. TIP: For a subtler blending effect, you could create two additional colours to blend in by pre-mixing the lightest colour with the middle colour, and the middle colour with the darkest one.
Keeping your space and materials clean will ensure your blending stays crisp. Avoid muddy colours by using one brush and roller per colour, and having all your materials ready before you begin (especially when blending). Using our colour picker tool, is again, a great way to start narrowing down your colour choices, and helps avoid buyers’ regret!
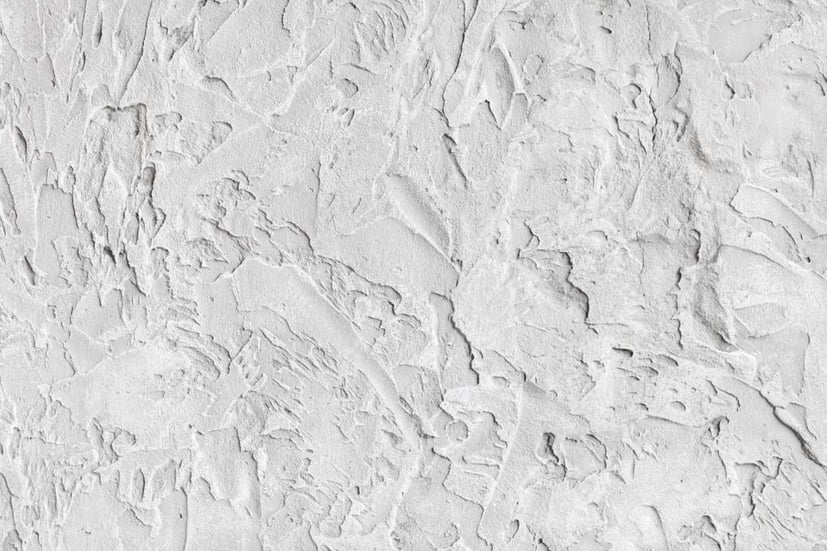
Textured Coating
Texture coating is the most complex of these popular wall effects, and is reserved for exteriors. Applying it is demanding, but it makes your home more energy efficient with its reflective properties, and keeps regular maintenance to a minimum. Here’s what to expect if you’re up for the challenge of creating a textured coating for your home:
What you’ll need:
- Shovel and trowel
- Sandblaster or high-pressure hose
- Plastic sheets and tarpaulin
- Waterproof cement
- Texture coat primer and top coat
- Spraying machine
- Safety goggles and mask
- Protective trim paint
- Paint brush
Method:
- Dig a trench around your home to expose its foundation. It needn’t be too deep, but ensure you can apply the texture coating to the top edge of the foundation. This step is optional, but helps protect it from moisture damage.
- Clean your walls with a sandblaster/high-pressure hose. This removes dirt and exposes areas that need patching.
- Use the trowel to close up any exposed cracks with waterproof cement. Smooth the patch as much as possible and allow it to dry.
- Prepare your house for painting — tape plastic sheets over doors and windows, and cover nearby plants with tarpaulin.
- Remove any fixtures from the outside of your home, such as lights or shutters. Cover what you can’t remove with a plastic sheet.
- Apply the priming coat of paint with a spraying machine and allow to dry. TIP: Work from the top of the house to the bottom, working systematically and covering an area about 1 metre wide at a time. Remember to wear your safety goggles and mask for this!
- Add an extra coat of primer to areas that need it. Once this is dry, add the top coat of texture paint the same way (with spray machine) and allow to dry.
- Apply a second coat to the areas that need it, and allow it to dry thoroughly.
- Paint the areas that contain trim with protective trim paint. Allow to dry.
- Remove the plastic sheeting and tarpaulin from your doors, windows, plants and immovable fixtures. Replace any fixtures that were removed, and finally, backfill the trench around the base of your house.
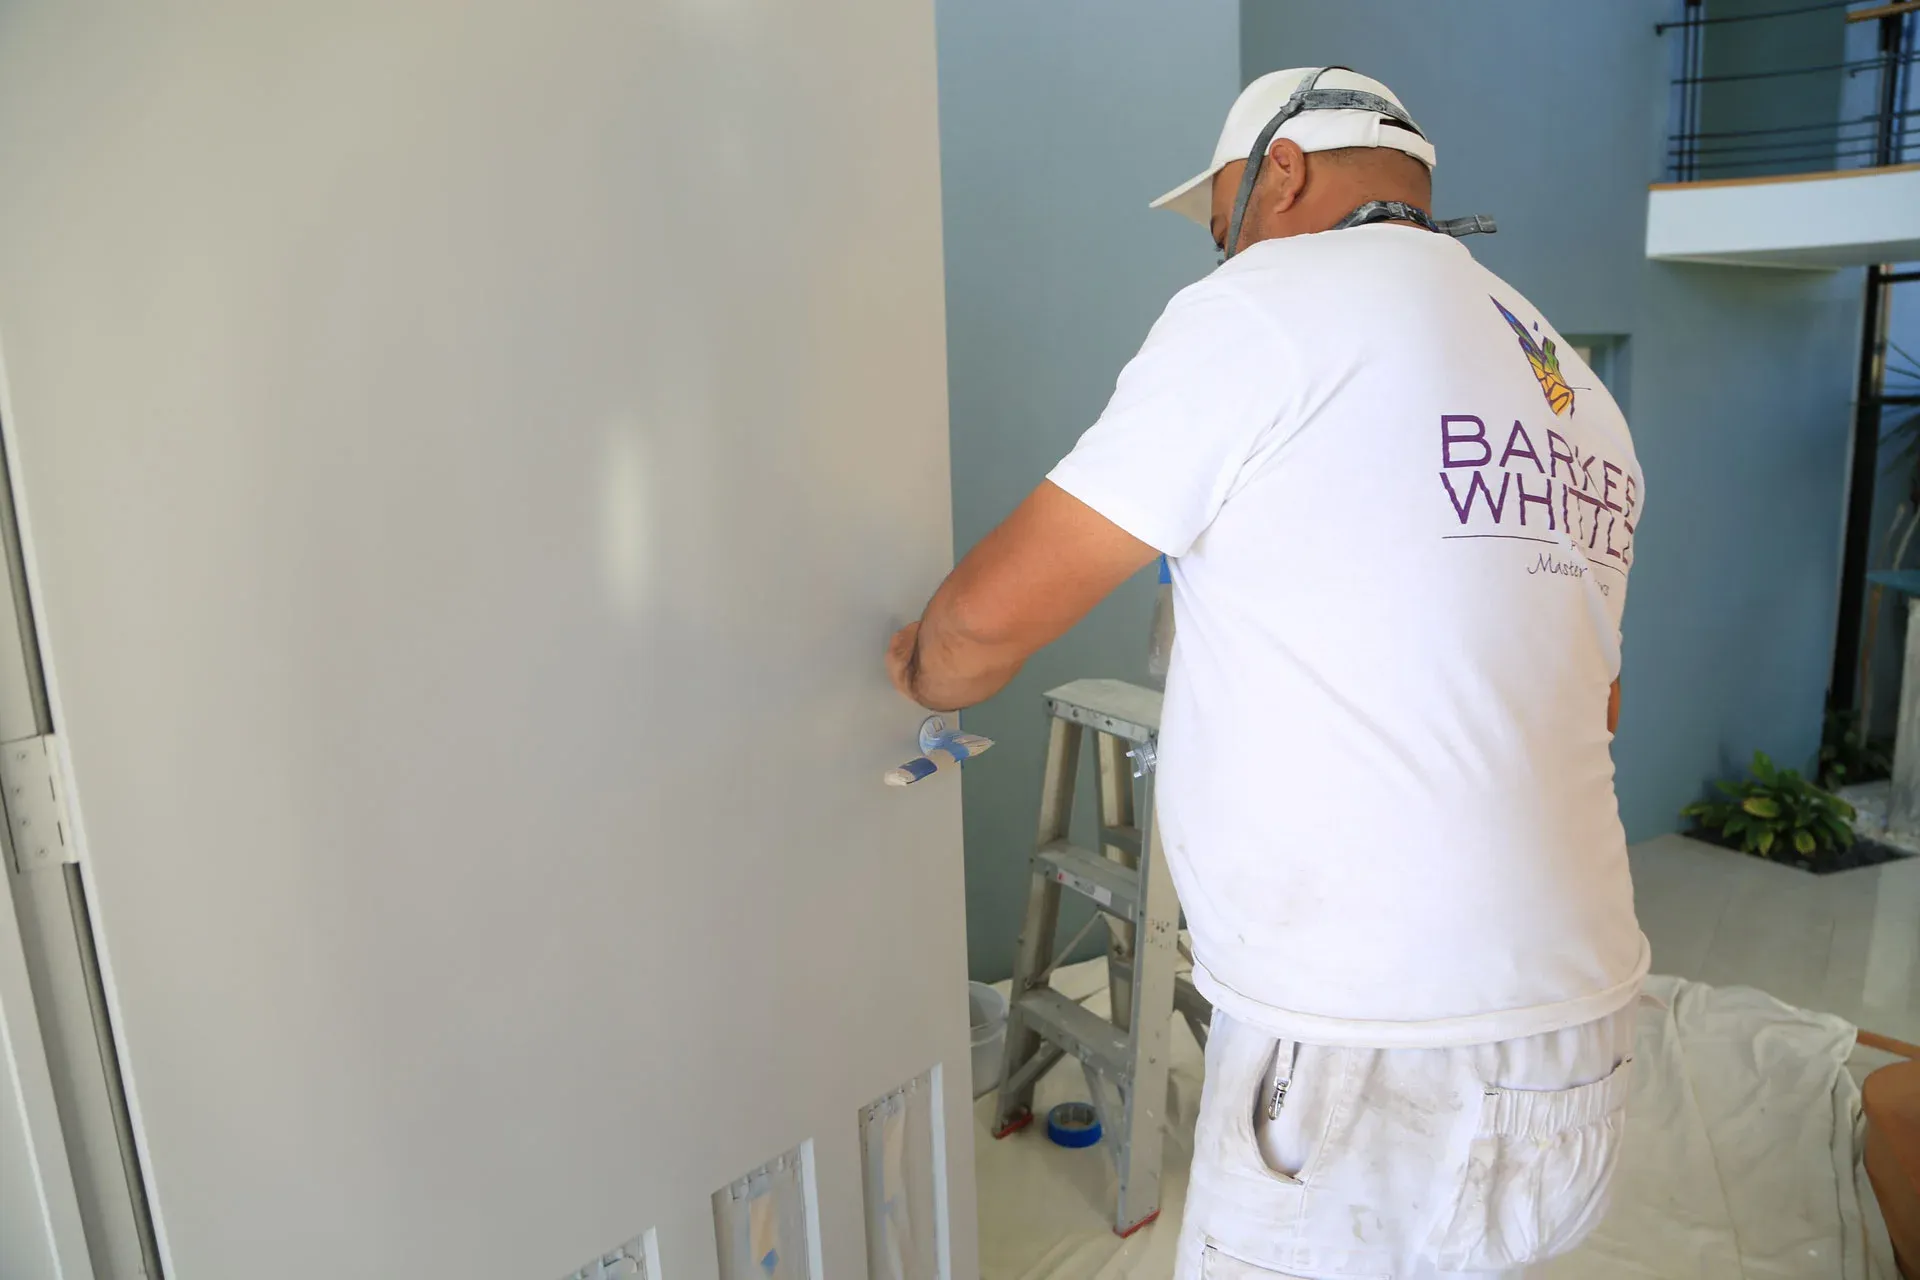
Phew! Sometimes taking on the risk of a DIY is best left for another time, or a smaller project. When you’re wanting to recreate complex paint effects or textured wall coatings, especially on your home’s exterior, it’s less stressful if you call in the experts. Secure the help of master painters and texture coating specialists, like Barker-Whittle, and revitalise your space without the risk of having to clean up more than a few spills. You’ll save time and money on a team of experts that give you the fun part of choosing your colour and finish, without the hassle of doing the work yourself. Contact us for a free, no obligation quote.